
Source copied from premio.io for original link click here
Without good SEO optimization and rankings, you will not be able to reach any organic traffic at all. Without the organic traffic, you will either have no visitors or spend lavishly on ads. Since you have a WordPress site, it’s from crucial importance to choose the right SEO plugin that will make it easy for you to optimize your website and rank for appropriate keywords.
In the last few years, the Yoast SEO plugin positioned itself as one of the best SEO plugins on the marketplace.
Just have a look at these ratings:
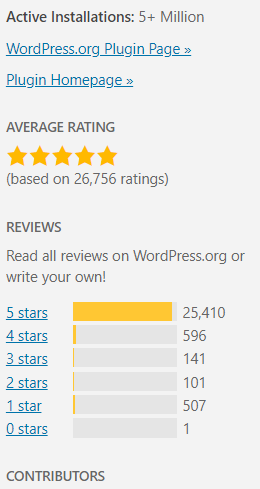
It has over 5M users and the highest rates as possible. Without a doubt, Yoast SEO is a great plugin that will definitely supercharge your SEO statistics and rankings.
But, because of its robust platform and a lot of useful features, it makes it hard for the first-timers to set up everything correctly.
That’s the reason why we’ve created this step-by-step guide. To make it easy for you to enjoy the fruits Yoast SEO has to offer you.
Installation is quite simple – like for every other WordPress plugin. Just go to the “Plugins” section and click “Add new”. Type in the search box “Yoast SEO”, and for the first plugin that pops up – click “Install”.
For the first-timers, it’s the best to run and complete Yoast SEO’s configuration wizard. At the top of your WordPress dashboard, you will see a little logo of Yoast.
Click here, and you will see a new screen:
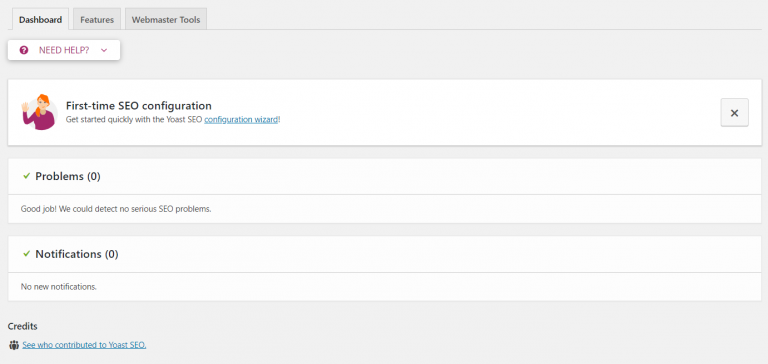
It’s relatively easy to find out the configuration wizard. This nice-looking girl is waving to you, so this is your direction.
From the moment when you run the configuration wizard, you will see 9 tasks that require competition in order to set up everything in the place.
Don’t worry, this is going to be fast and funny at the same time.
Let’s go through all of the 9 tasks.
Step 3.1 – Choosing the site environment
The first of the nine steps is to specify is your website design and construction over and not. If you finished designing your website, the Yoast SEO plugin will index your website to Google. That means that your website will become visible to Google itself.
In some cases, Google will automatically register your website after some time. But to speed things a little bit, you can also index your website manually (or through Yoast SEO).
If your website is still under construction, it would be better to wait with indexing your website.
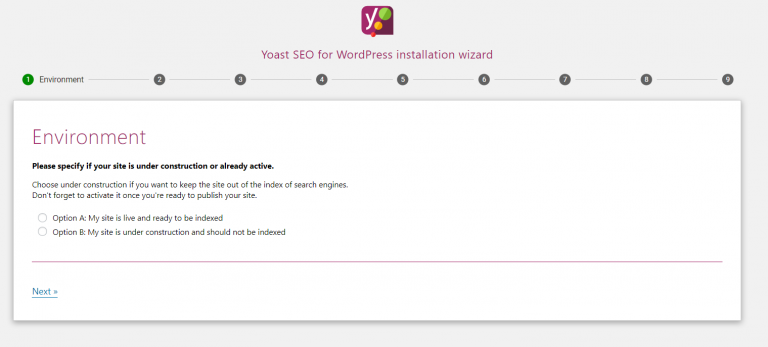
Either way, check the option that’s true for you.
Step 3.2 – Choosing the site type
Site type will help Yoast SEO plugin to optimize your website as much as it can for the types of sites your website belongs to.
As you can see on the image below, depending on the purpose of your WordPress website, there are various site types you can choose from.
Choose depending on your website.
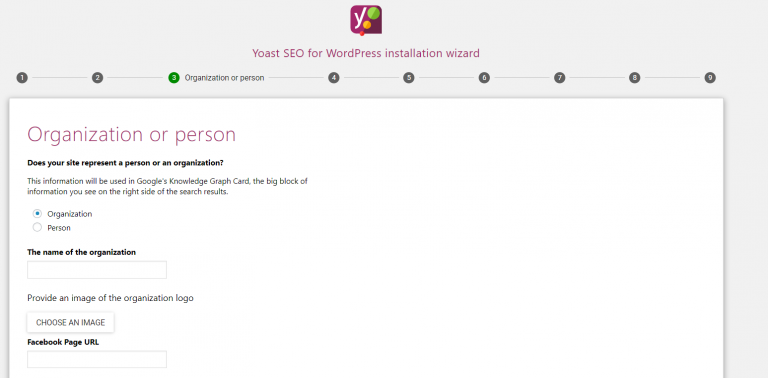
Step 3.3 – Fill in your URLs
The next step is to fill in your company’s URLs. This could be extremely useful since you will skip the constant part of adding these links over and over again.
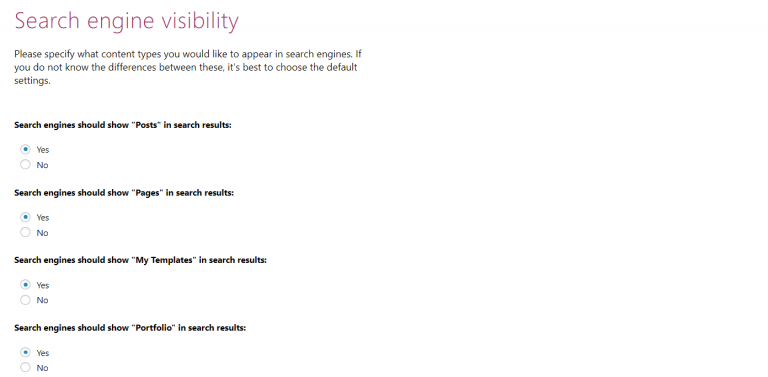
Step 3.4 – Choosing the search engine visibility
The fourth step is to choose what types of pages you want to show in the search engines. If you don’t know what are the differences, you can always leave the default setting. Nothing can harm you.
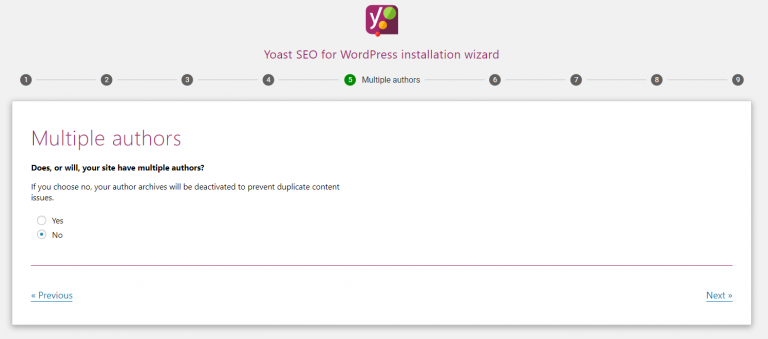
Step 3.5 – Will your site has multiple authors?
The next step is to choose will your website have multiple authors or not. Defining this will help Yoast to set up everything that you will need for having multiple authors, so you don’t need to.
If you’re unsure, you can always choose yes.
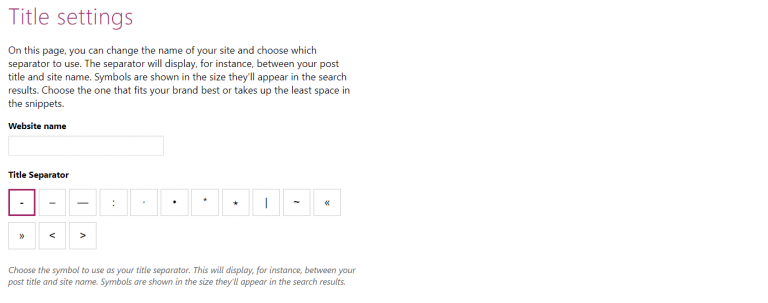
Step 3.6 – Title settings
Now it’s the moment when you’re choosing your site name and title separators. Although it’s not recommended to have big variations, site name can be different than your domain name. If your domain name isn’t the full name of your company, then you can change your site name, but don’t make it too much different.
Title separators are used in the search engines to separate blog post title from the site name. None of these separators affects SEO rankings, so you can choose based on your style. Some general separators are – and |.
Last three steps in the Yoast configuration wizard:
The last three steps are not important for your SEO optimization at all. At the seventh step, Yoast asks you for subscribing to the newsletter.
It’s not a big deal if you don’t want to subscribe. In the next step, they’re offering you premium services. If you’re not willing to pay at the beginning, you can also skip this part.
In the last step, they’re simply congratulating you for completing the configuration wizard.
So, what are the next steps towards setting up your Yoast SEO account?
Let’s see!
Search appearances are simple settings that will remain the same on the entire website. Although they are indeed some basic settings, it’s from the crucial importance to set them up at the beginning.
In this case, Yoast helps you to easily configure them, and remain them the same over and over again – so you don’t need to set them up each time when you’re publishing the blog post.
To set up search appearance settings, simply navigate at the top of your WordPress’s dashboard, click the Yoast’s logo, Choose the “SEO Settings” and then click “Search appearance”.
In the first, “general” tab of Search appearances, you will see the title separators, option to choose a web site’s name, upload the logo, etc. Since we’ve already configured this in the configuration wizard, you can go to the second tab – Content types.
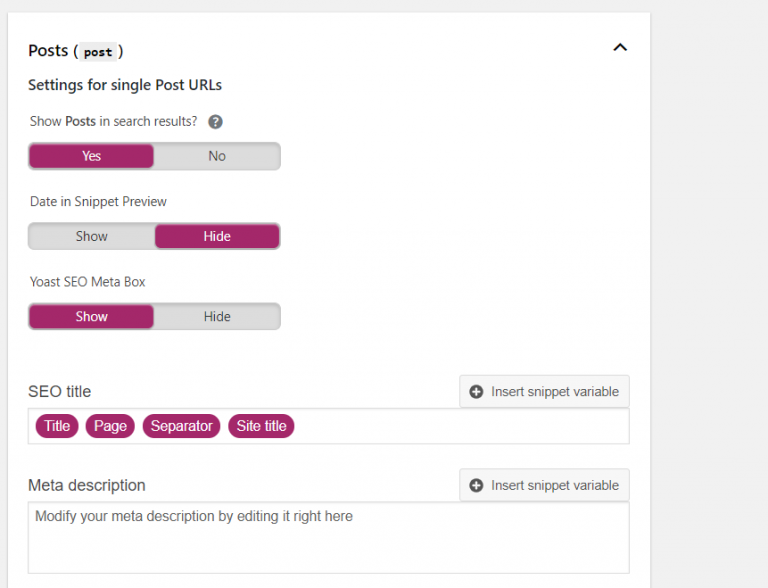
This is the moment when we’re choosing how the default search appearance for different types of pages is going to look like.
So, you can create search appearances for pages, posts, and other content types as well.
You already chose whether or not you want certain content types to allow showing in the search engines.
The second option you have is to decide whether or not show the dates in the snippet preview. Usually, the practice is to don’t show dates both in the URLs, meta descriptions, or titles. They’re just going to look messy and they’re going to harm the user experience. So you can choose “Hide” here.
The SEO title is really important – this is the title that will be shown in the search engines. Here, you can choose the default pattern you want.
According to some general practice, your SEO title should contain “Title”, “Separator”, “Site title”. In this order.
You can also set up some default meta description here. But we don’t recommend you to do that since the meta description should be different for each blog post. Since you have a limited number of characters in the meta descriptions, it’s best to save all of them for explaining your article – not mentioning the title or blog post name.
Repeat this step for every content type you want to show in the search engines.
The other tabs we have in the Search appearance folder are media, taxonomies, archives, breadcrumbs and RSS. You can skip all of them for now, since you’re not going to need them.
Everything else under the “SEO settings” is already completed in the configuration wizard, so there is no need for additional information.
Congratulations, now you finished setting up your basic Yoast SEO settings!
Now it’s the time to see how use the Yoast SEO while you’re writing your blog posts.
Just under the box where you’re writing your blog posts, you will see Yoast’s box with recommendations that could improve your article’s SEO potential.
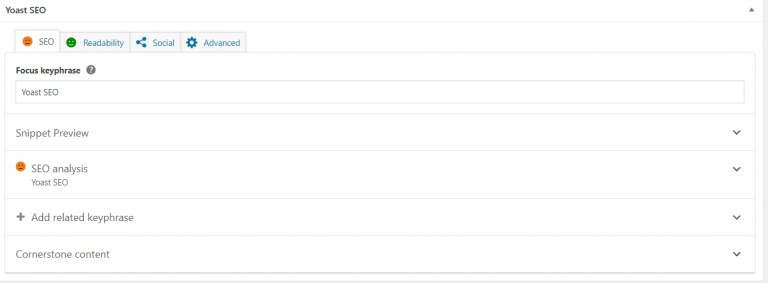
Under the first tab called “SEO”, we can set up the focus keyword, related keyword phrases and edit the snippet preview.
Focus keyword will help you to optimize your article for the most ideal keyword for your article. So choose your keyword carefully.
Snippet preview is how your article is going to look in the search engines. Here, you can change the title, meta descriptions, and everything else you want to.
When you click on the SEO analysis, you will see the following content:
This is the best part of Yoast SEO. It gives you actionable advice on how to improve the SEO performance of your article and how to optimize it for better rankings.
It’s the same when you click on the “Readability” too.
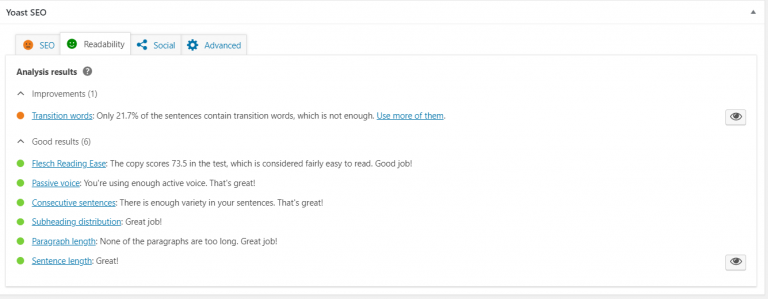
You will see actionable ways to improve your writing skills and make your article as readable as possible.
The bottom line
As you can see, with a little help, it isn’t too hard to set up your Yoast SEO plugin.
It takes a couple of minutes only. Use it wisely to grow your web rankings and create amazing content. Everyone at Premio is holding you crossed fingers for this!